iOS Application Injection
Having been interested jailbreaking iOS devices for going on almost a decade, mixing security and this makes sense. Within this entry, I document my method of checking if an application can have code injected.
Method 1 - Theos
The first method of testing for this is to check is to create a tweak using Theos. To get all the necessary information, I use a combination of other tools, namely:
- Frida (https://frida.re)
- Passionfruit (https://github.com/chaitin/passionfruit)
- class-dump-swift (https://github.com/ivRodriguezCA/class-dump-binaries/raw/master/binaries/class-dump-swift)
- Theos (https://github.com/theos/theos/wiki)
Installing Prerequisites
For the purposes of this, I am using a jailbroken iPhone 6 running on iOS 12.4.3, jailbroken using Checkra1n (https://checkra.in) with the package mobilesubstrate installed. My testing host is macOS. You might need to change the instructions to match Windows or Linux, depending on your Operating System.
Installing Brew
Homebrew was installed on my macOS install by running the command
/usr/bin/ruby -e "$(curl -fsSL https://raw.githubusercontent.com/Homebrew/install/master/install)"Installing XCode
Xcode was installed from the Mac App Store. After installing XCode, the Command-Line tools were isntalled by running the following in terminal:
xcode-select --installInstalling Theos
To install theos, I followed the tutorial at https://github.com/theos/theos/wiki/Installation-macOS. Summarizing, the following commands install Theos:
brew install ldid xz
echo "export THEOS=~/theos" >> ~/.profile
echo "source ~/.profile" >> ~/.zshrc
source ~/.zshrc git clone --recursive https://github.com/theos/theos.git $THEOS
curl -LO https://github.com/theos/sdks/archive/master.zip
TMP=$(mktemp -d)
unzip master.zip -d $TMP
mv $TMP/sdks-master/*.sdk $THEOS/sdks
rm -r master.zip $TMP
Installing Frida (macOS)
Installing Frida requires pip on the host. With pip installed, the following command installed the required tools:
pip install frida-toolsInstalling Frida (iPhone)
On the device, follow the following steps:
- Within Cydia, go to Sources > Edit > Add
- Add the source
https://build.frida.re - Upon refreshing the sources, go to Search, and seach for Frida
- Install Frida 12.8.1
With these, Frida will be installed on the device.
Installing Passionfruit
To install passionfruit, the first step is to install node. Node is installed with the command brew install node. With node installed, passionfruit can be installed with npm install -g passionfriut, and then can be run with passionfruit.
Installing the binary
For the purposes of this, I am assuming that the ipa is with the tester. In this testing, I am using the Damn Vulnerable iOS Application (http://damnvulnerableiosapp.com).
Installing AppSync (iPhone)
On the device, follow the following steps:
- Within Cydia, go to Sources > Edit > Add
- Add the source
https://cydia.akemi.ai/ - Upon refreshing the sources, go to Search, and seach for AppSync Unified
- Install AppSync Unified 70.0
Installing ideviceinstaller
To install ideviceinstaller, run the following commands:
brew install libimobiledevice brew install ideviceinstallerideviceinstaller
Given the App Signing bypass given by Karen (AppSync Unified), it's now possible to install unsigned binaries. I do not condone usage of this for piracy purposes.
The app can be installed by:
ideviceinstaller -i <path to ipa>Once the command finishes execution, the DVIA application is on the iPhone.
Hooking the DVIA Application
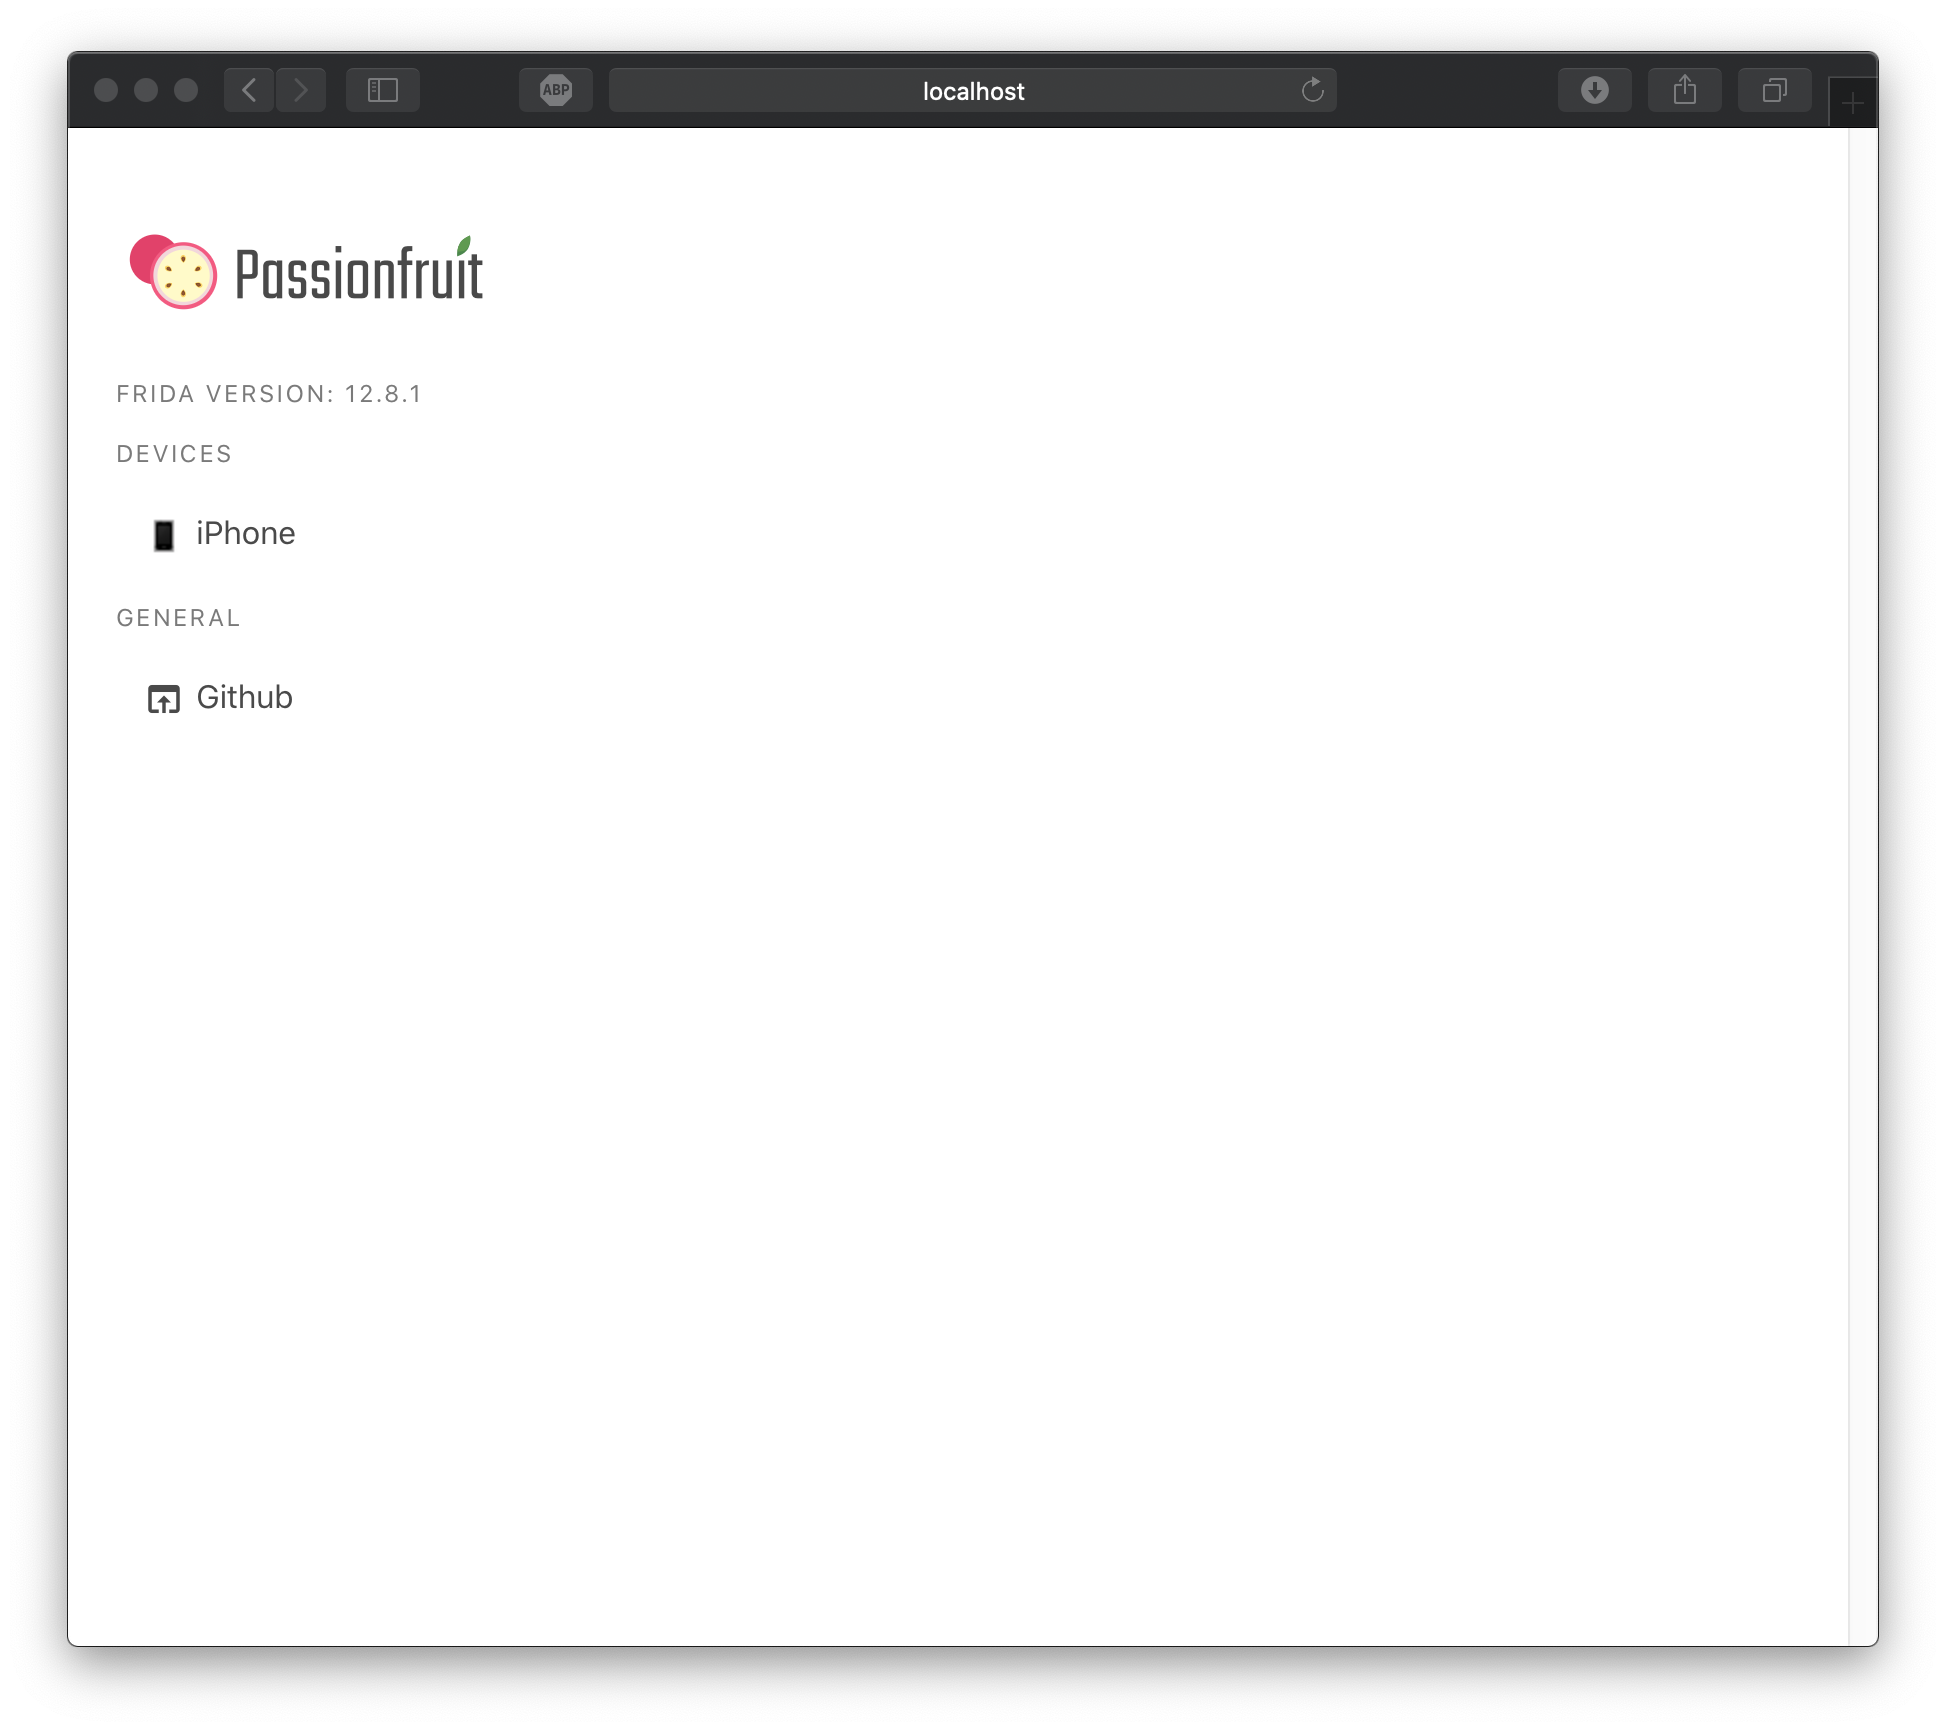
Hooking the application gives information on the application. In this case, I use passionfruit for this. First I connect the iPhone to the host with a USB cable. Then, in terminal, I run passionfruit, and browse to http://localhost:31337, as seen:
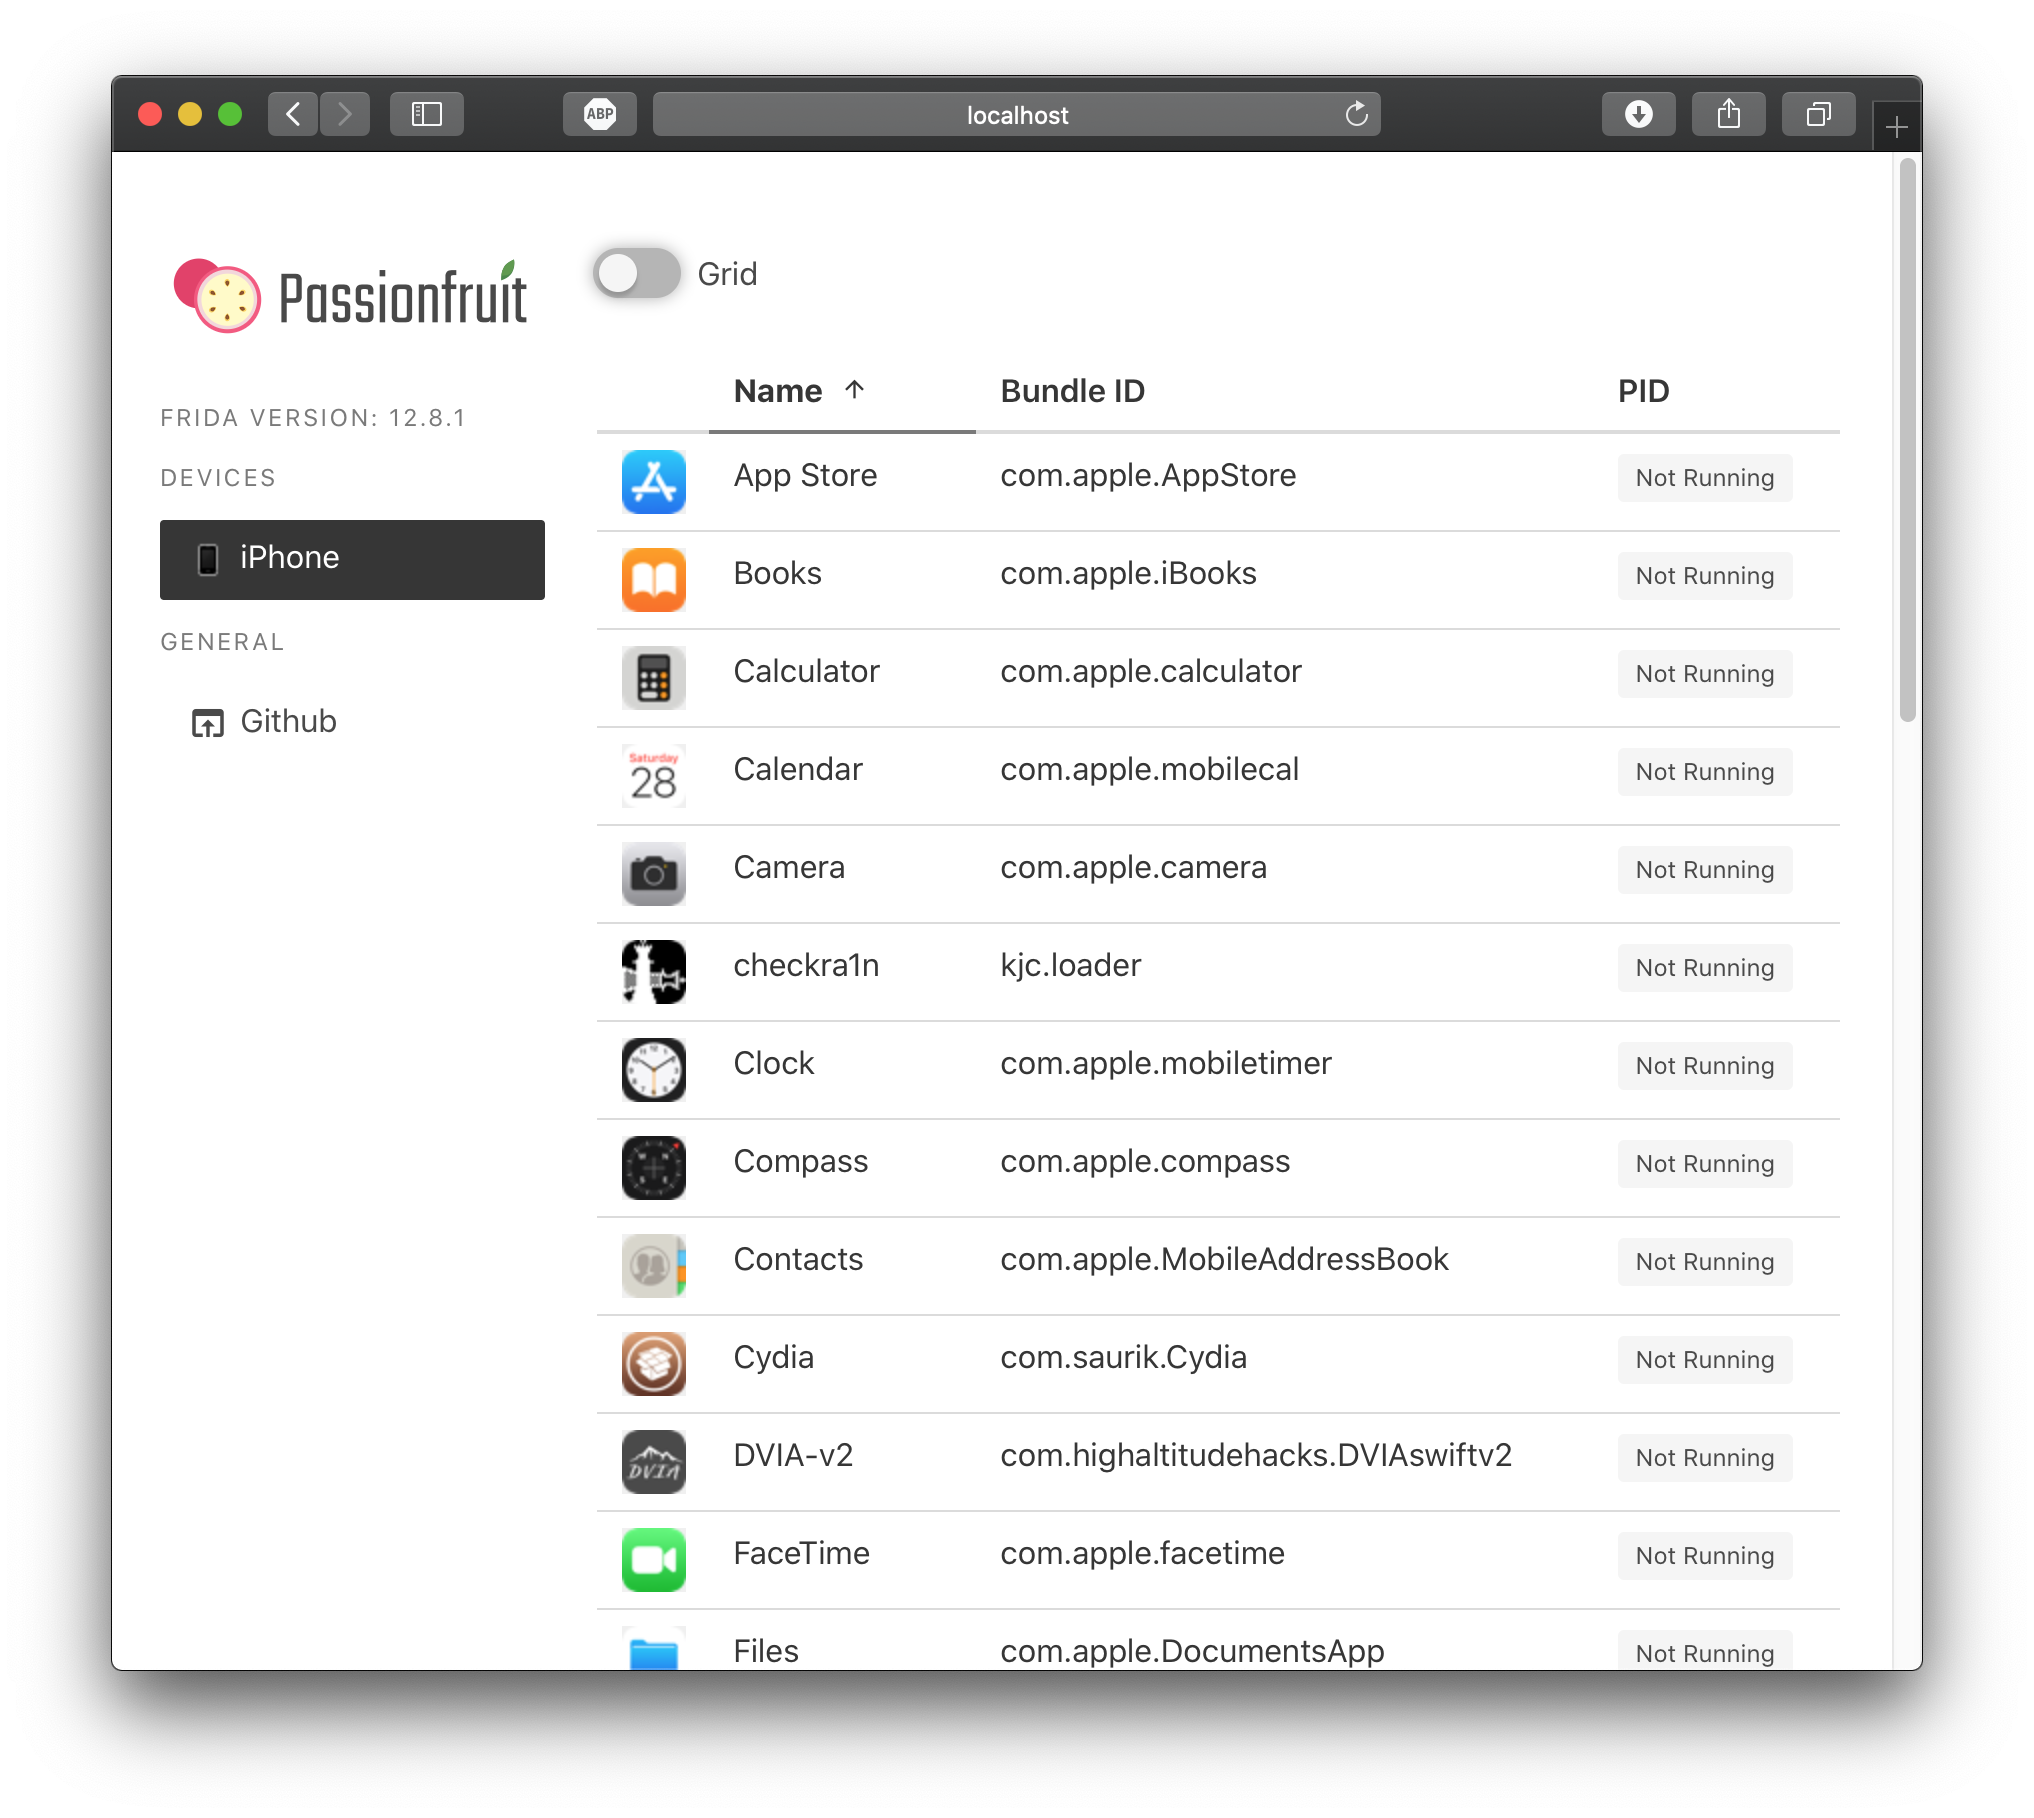
Clicking on the iPhone under the devices menu, we can see all the applications installed on the device:
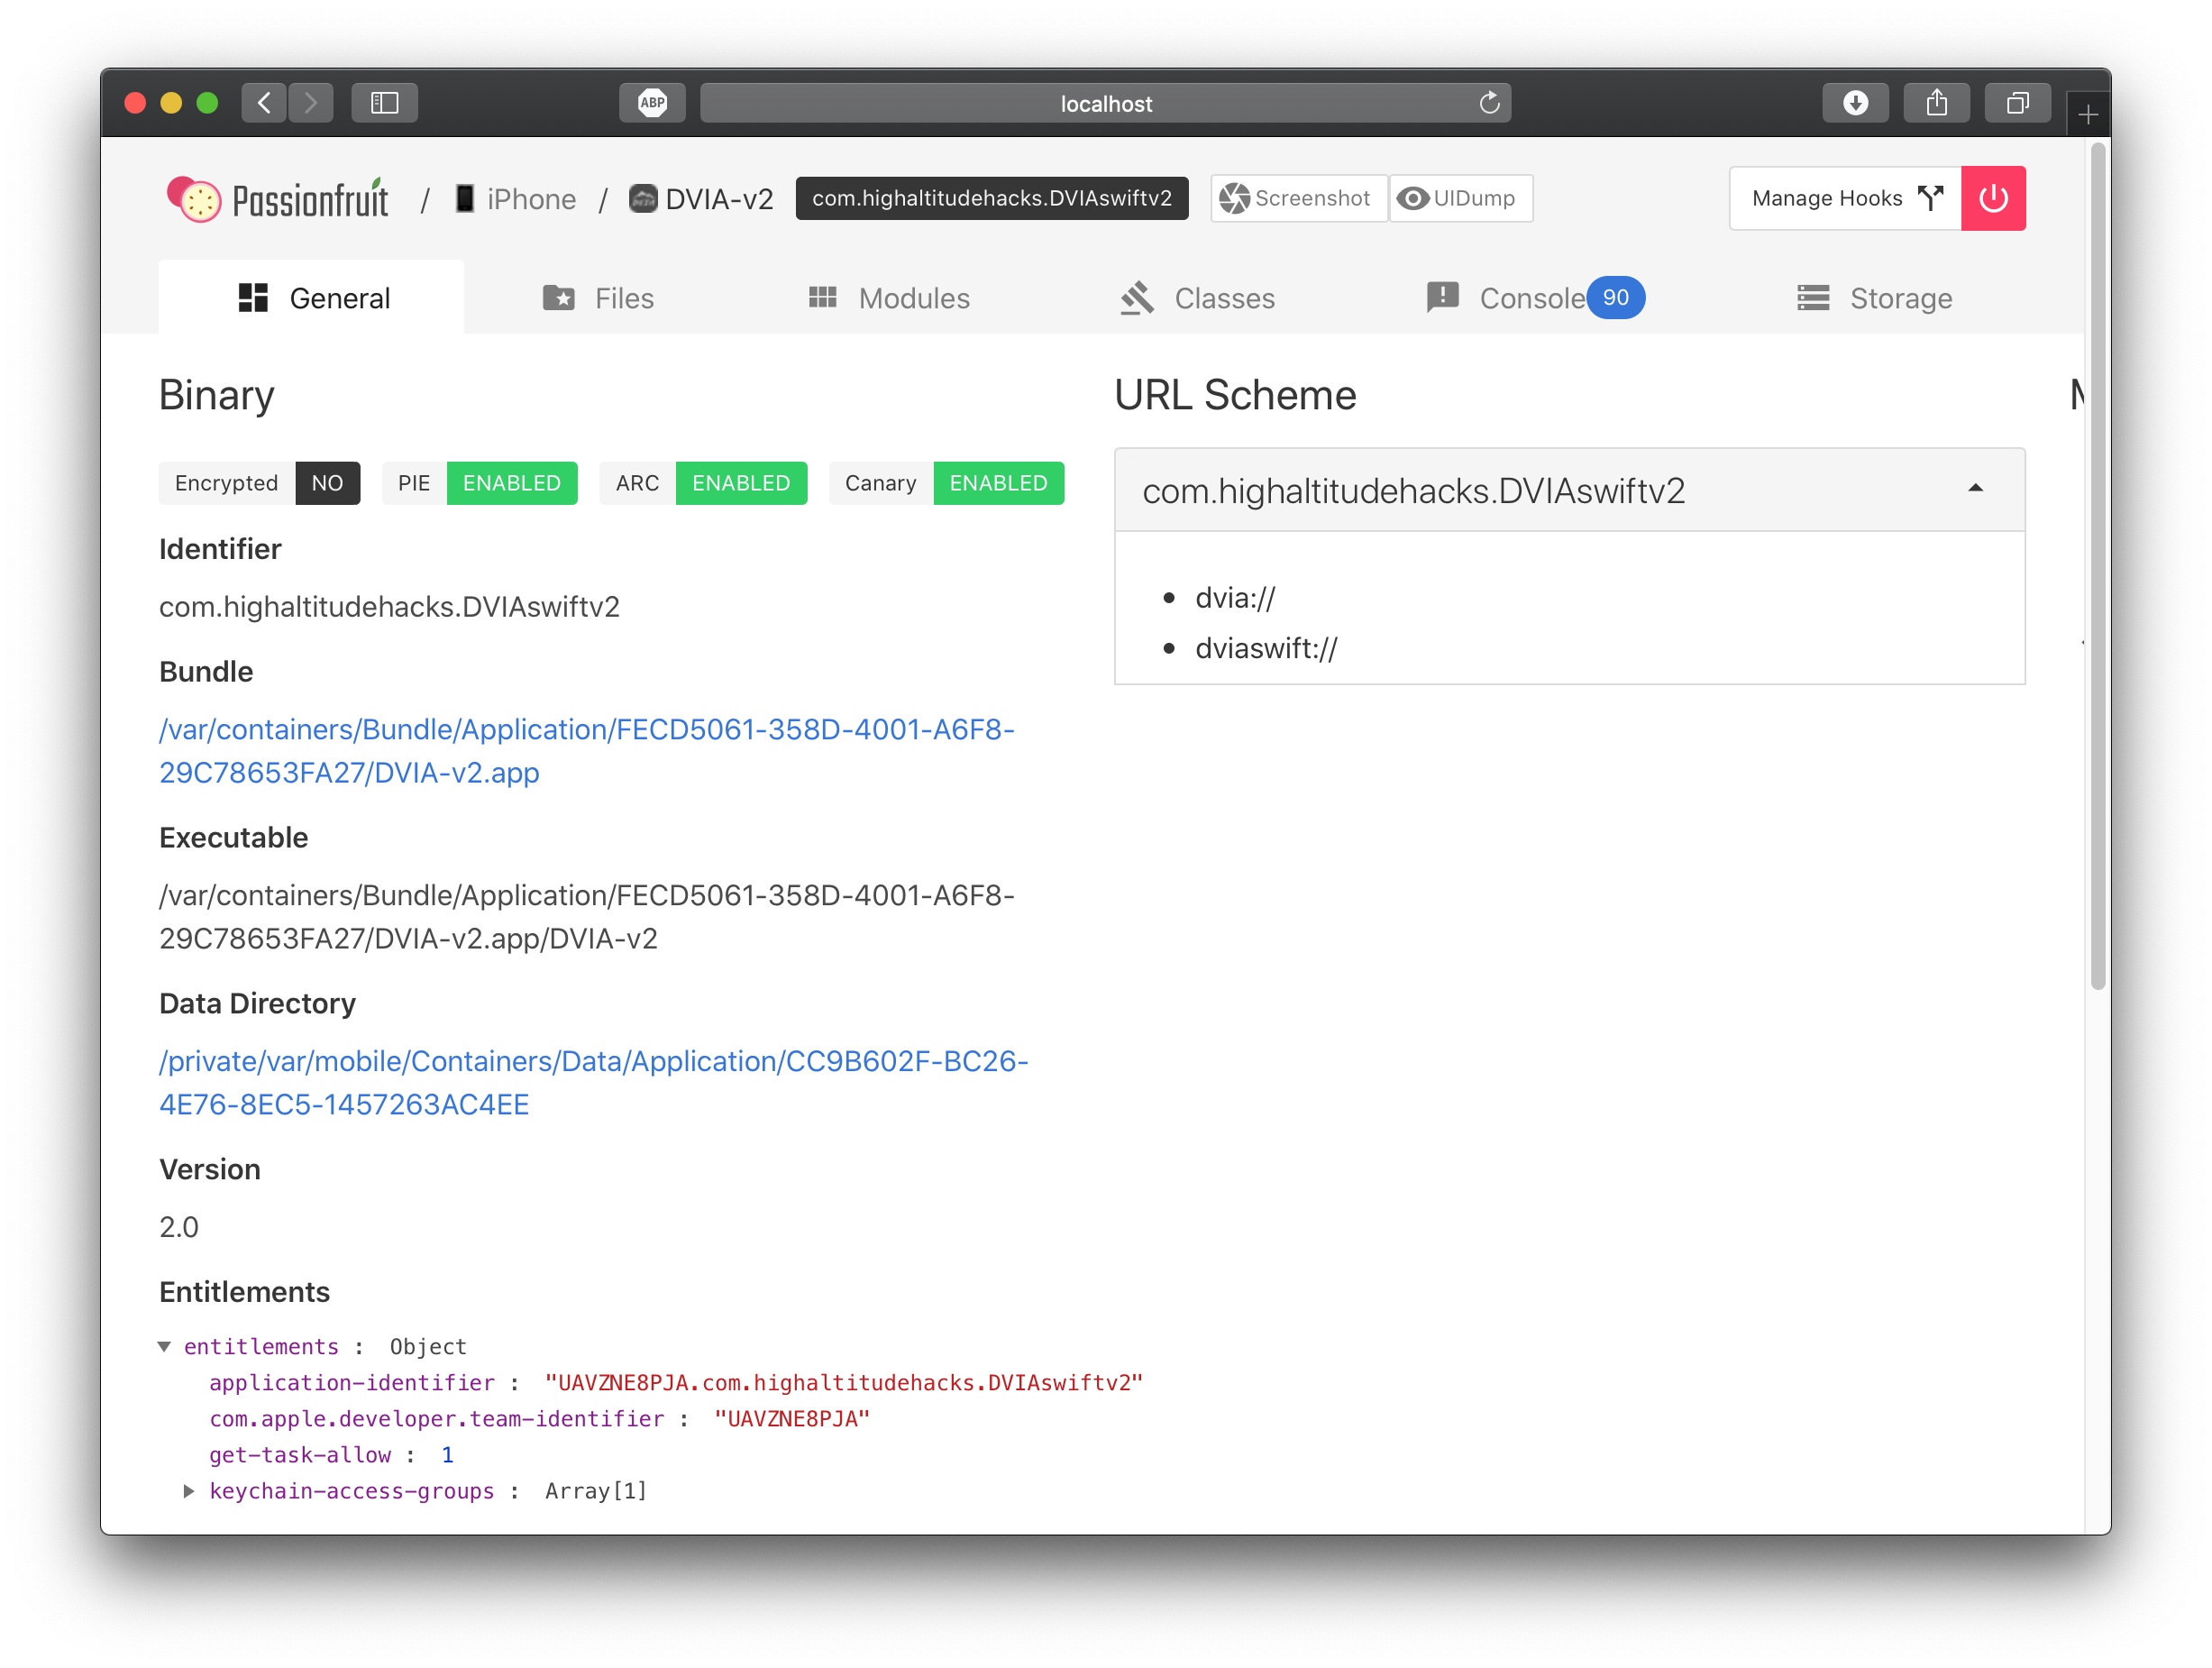
Clicking on the DVIA-v2 application, I can see the details of the applications:
Important information to note on this page is identifier: com.highaltitudehacks.DVIAswiftv2
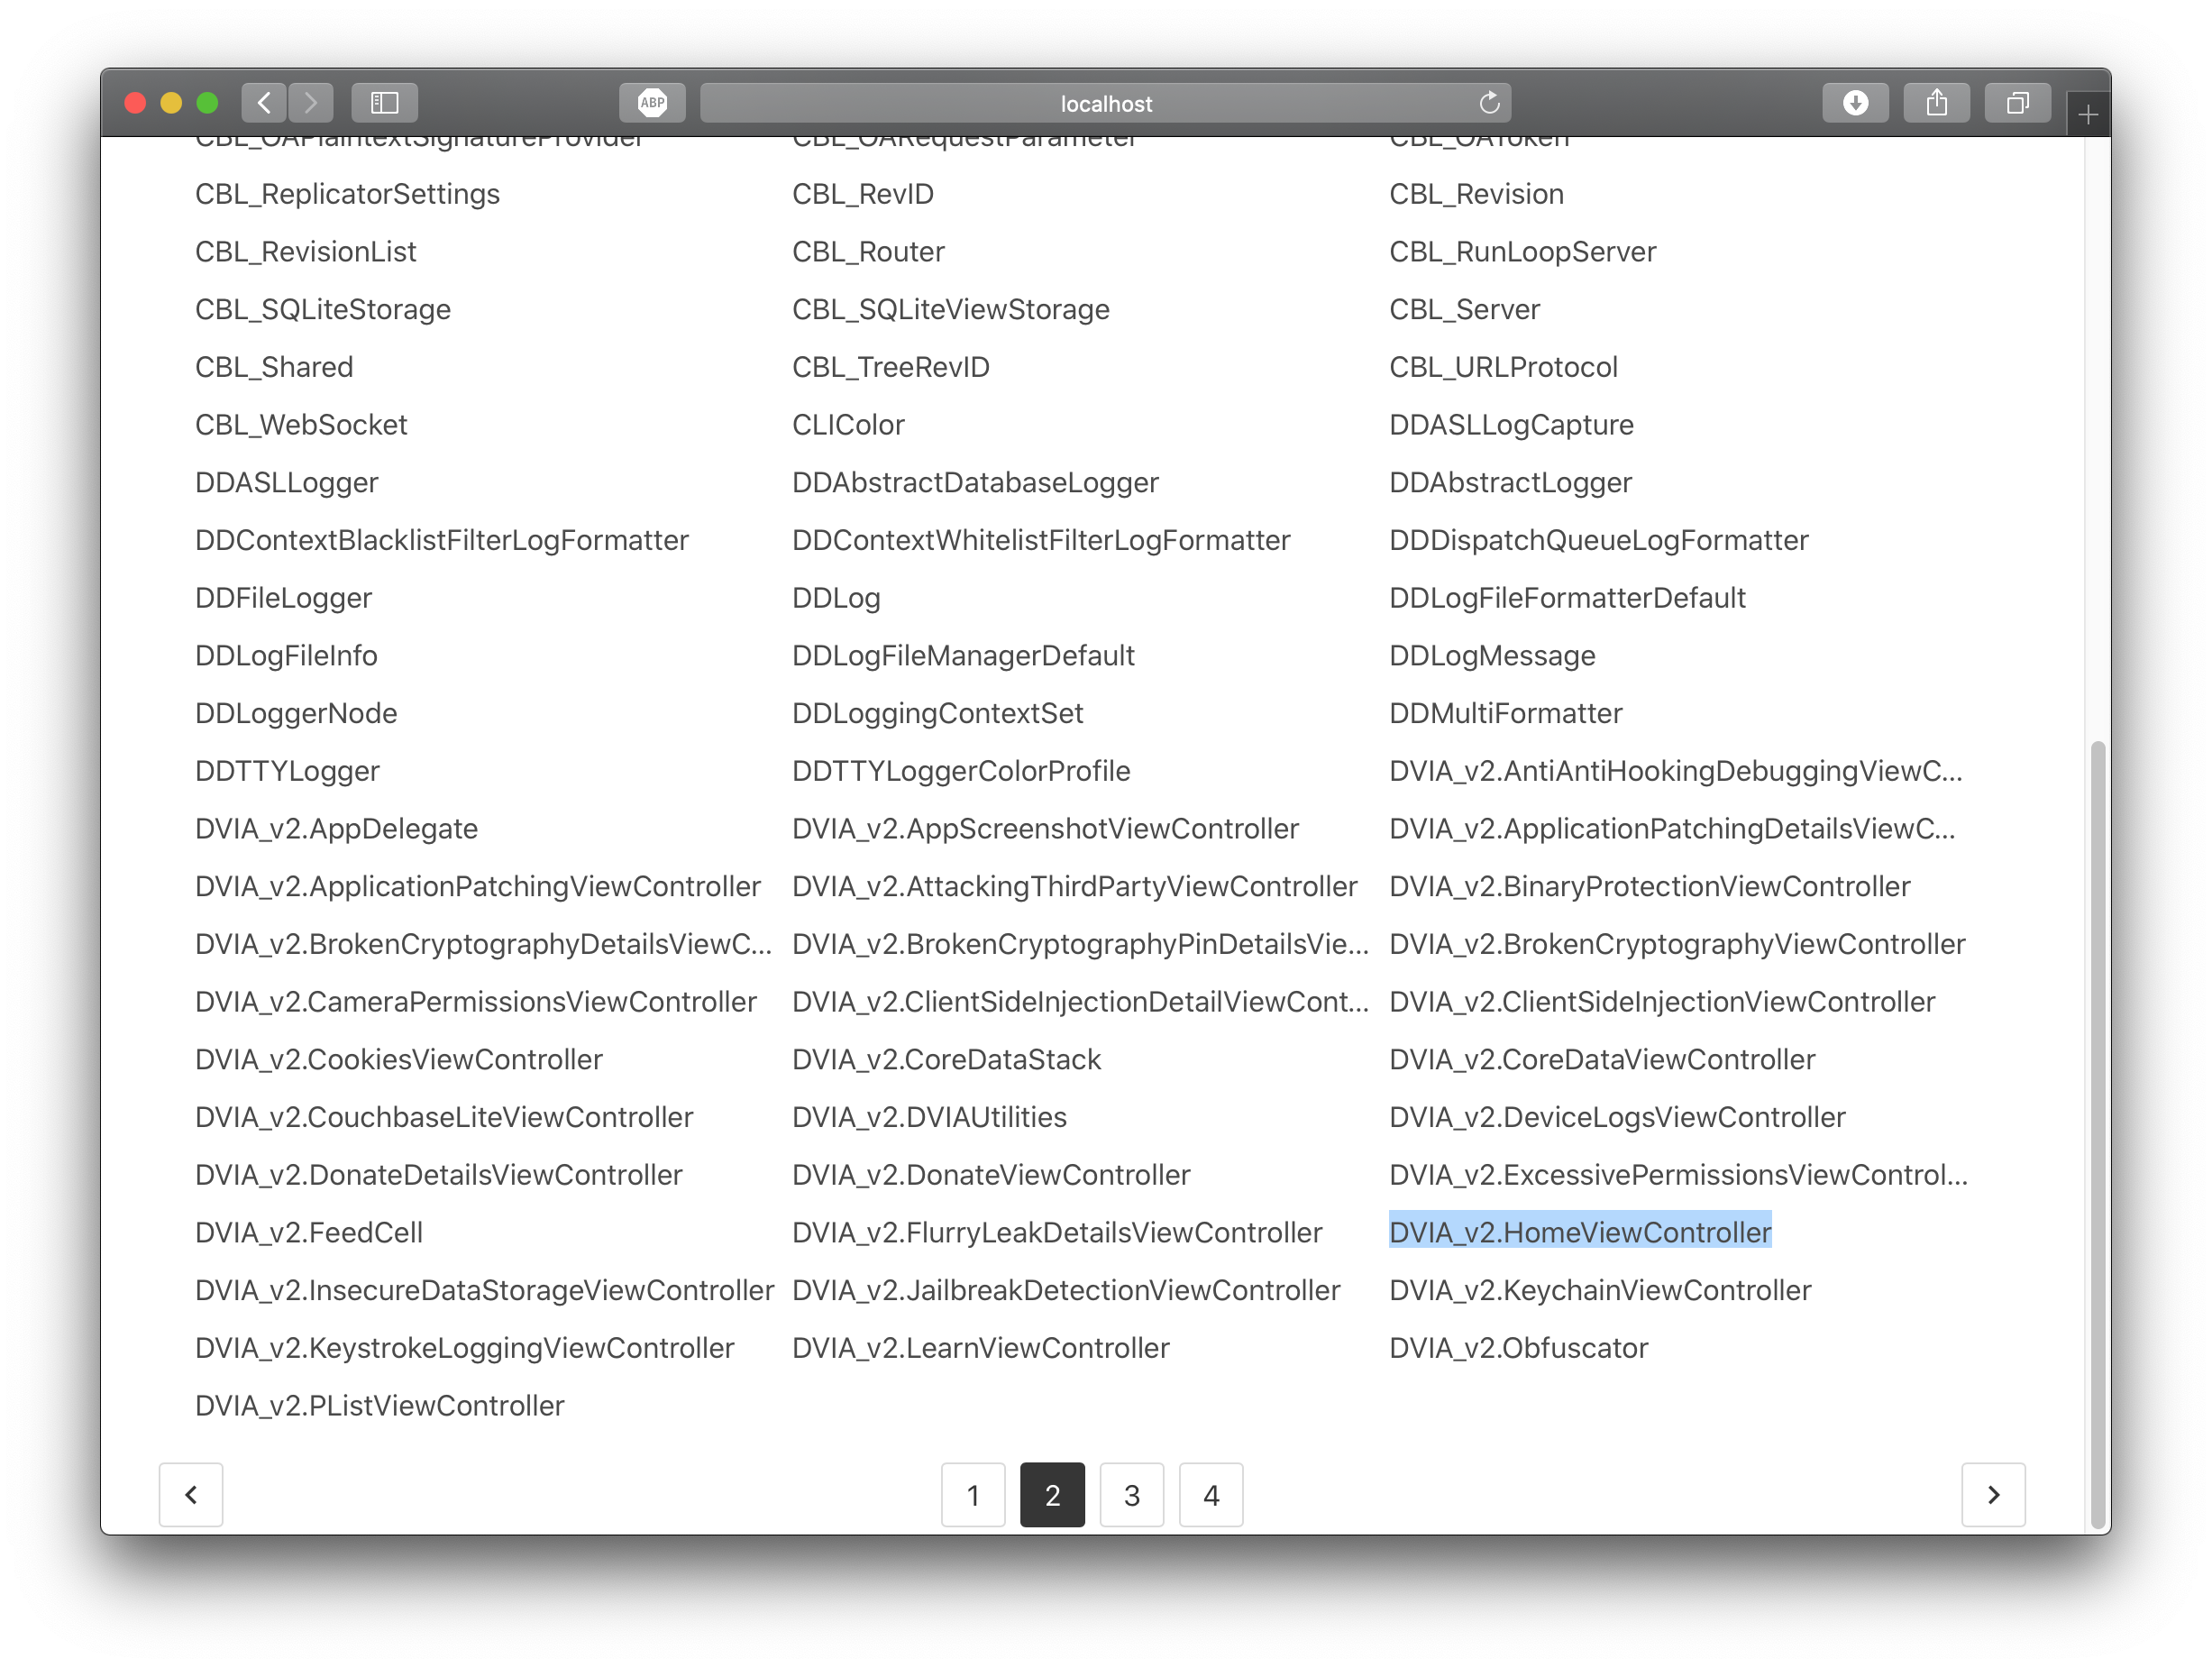
Next, its important to get the class to hook onto, which can be seen in the Classes tab. On page 2 of the classes tab, I see:
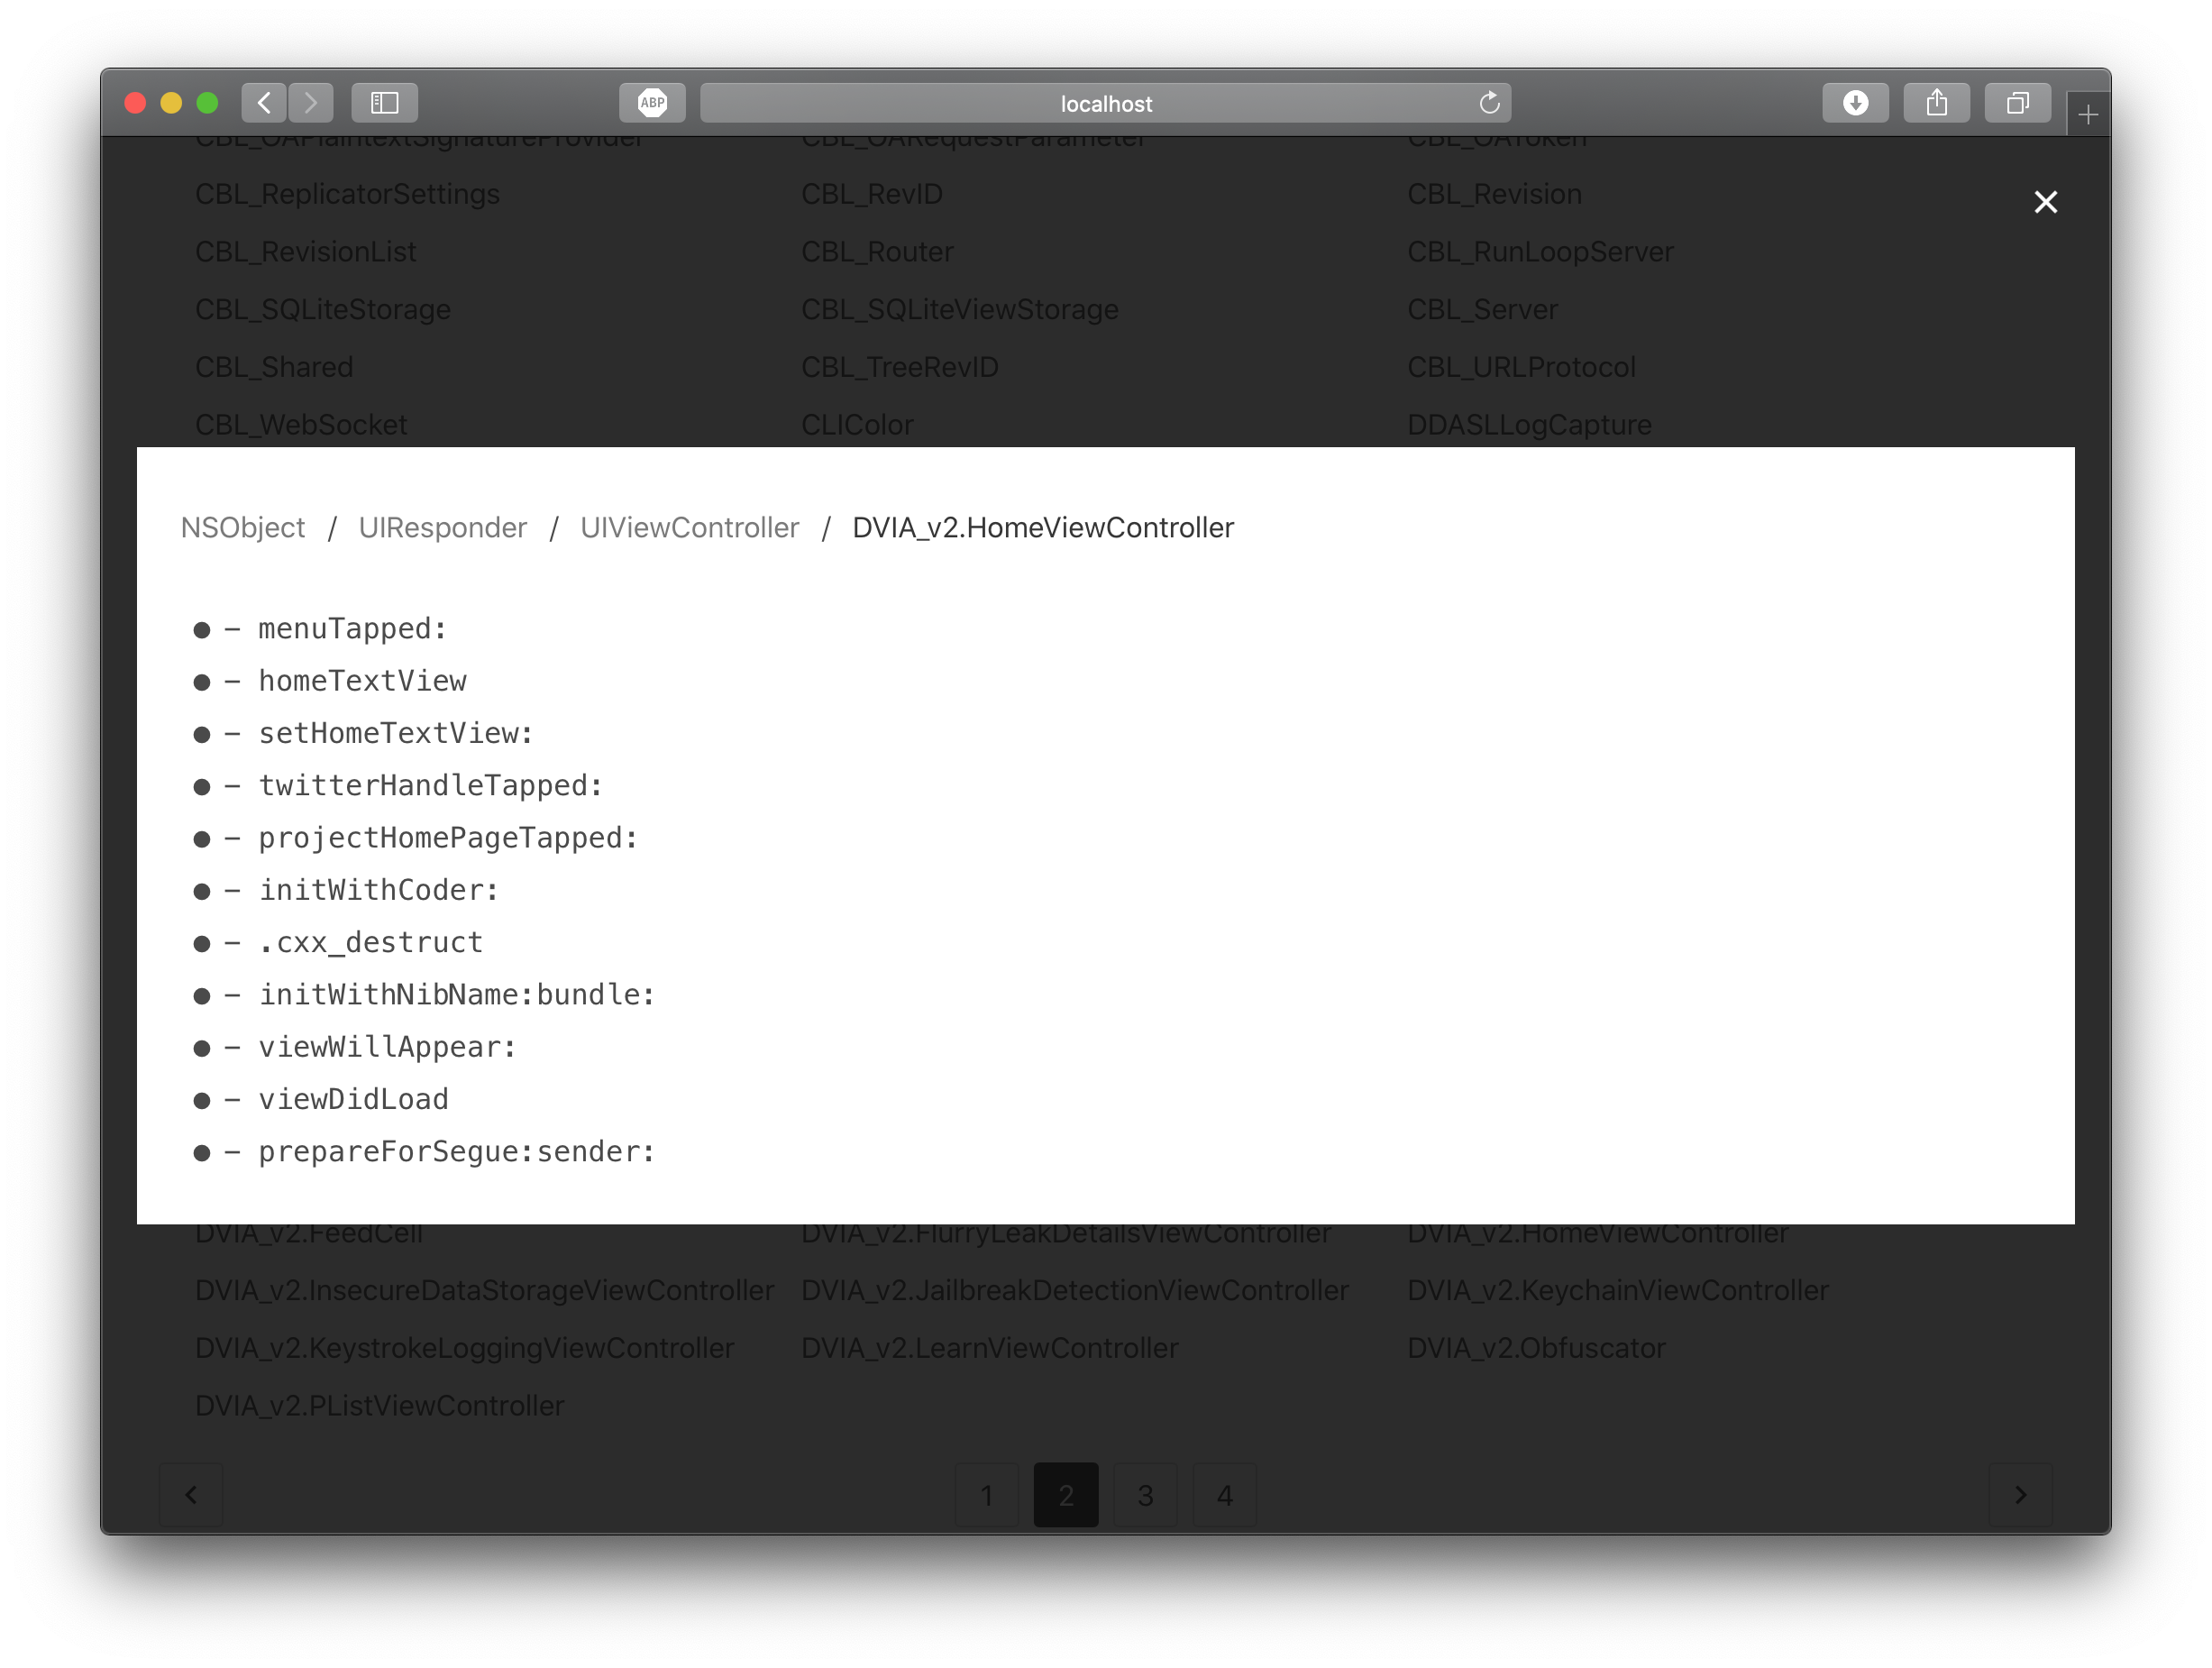
Now, having identified the class, I need to see the functions available. Clicking on DVIA_v2.HomeViewController, I can see the classes available:
Here, the function to hook into is viewDidLoad.
Writing the Theos Code
Within terminal, to start writing the code, I run:
$THEOS/bin/nic.plWithin this function, the only important thing is to choose option 10 - iphone/tweak. Other information can be modified to your personal preference.
Now, with the tweak directory, I rename the Tweak.x file to Tweak.xm.
There are a few different files created here:
- Makefile: The makefile defines how the tweak would be built.
- control: Defines information about the tweak
- <Tweakname>.plist: This defines the applications in which the tweak will be injected into
- Tweak.xm: Code that defines the tweak
There are some changes that need to be changed. Within the Makefike, I added the line
THEOS_DEVICE_IP = x.x.x.xin the top of the file, and changed the line <Tweakname>_FILES=Tweak.x to <Tweakname>_FILES=Tweak.xm
Next, in the <TweakName>.plist file, I changed the content to:
{ Filter = { Bundles = ( "com.highaltitudehacks.DVIAswiftv2" ); }; }This tells the tweak that the target application is the DVIAswiftv2, which we got from Passionfruit above.
The Tweak.xm file contents are changed to:
%hook classname

-(void)viewDidLoad{
    %orig;
    UIAlertView *alert = [[UIAlertView alloc] initWithTitle:@"Injection Test"
    message:@"A simple injection test on the application"
    delegate:nil
    cancelButtonTitle:@"Done"
    otherButtonTitles:nil];
    [alert show];
}

%end

%ctor{
	%init(classname = objc_getClass("DVIA_v2.HomeViewController"));
}
Important things here are that the class name is defined in the %ctor code block at the bottom of the file.
Installing the tweak
With the Theos Device IP defined in the makefile, installing the tweak is as simple as running the command:
make package installIt will prompt you for the root password. The default password for the root user is alpine.
Outcome
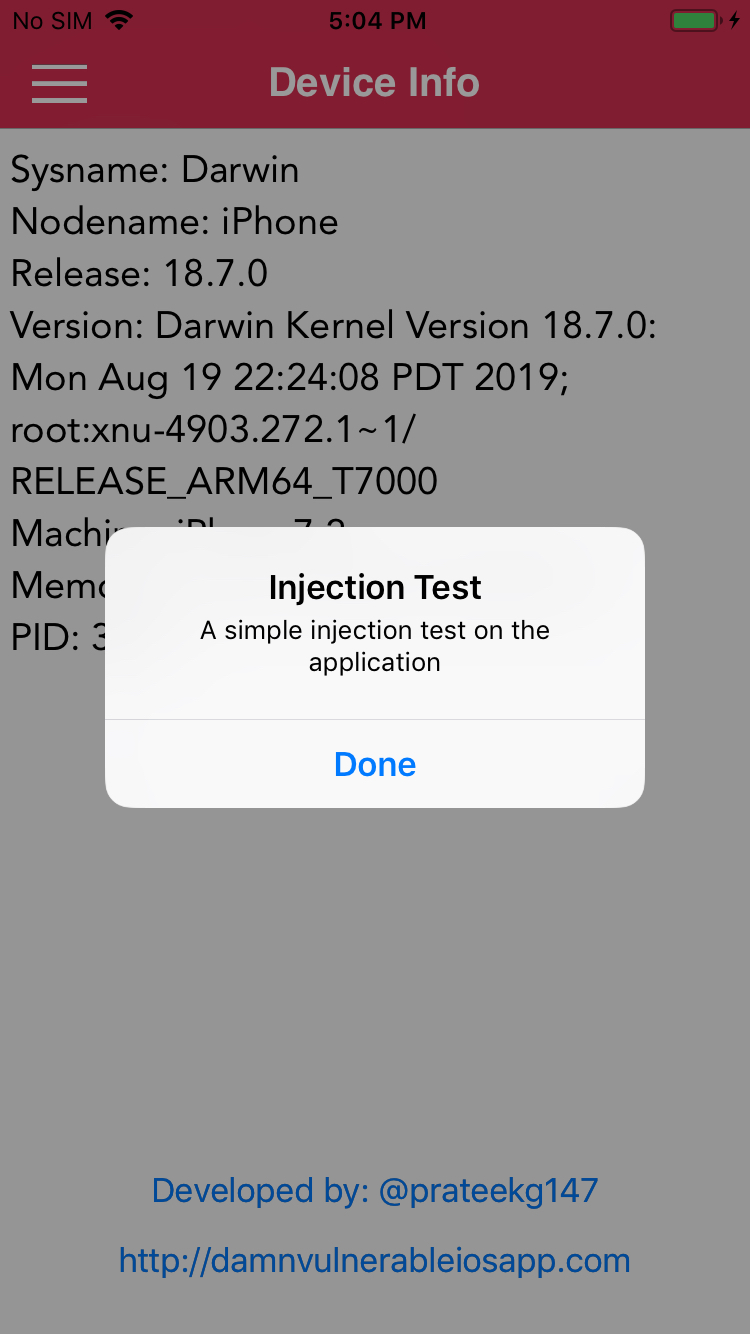
With the tweak installed, running the DVIA v2 application, we see the alert defined in the tweak.xm file:
Method 2 - Supercharge application
The supercharge application is targetted to provide the same functionality as Theos, while being wholly on the iOS device. However, within the application, there seem to be some bugs when it comes to writing Objective Script code. This will be updated once the bugs are fixed.
Conclusion
This is my method of checking if the applications can be injected. For any details, or any comments, email me at contact@arjunbrar.tech.
